The aim of this exercise is to take a handful of my previous shots and experiment with cropping to find new pictures within an original picture. This is actually something that I generally do when I process my shots, cropping them to a standard 3:2 ratio (for easy printing to 6x4) as my camera sensor does not produce images to that exact ratio - as well as cropping down images to increase the size of a subject to place more emphasis on it, such as with wildlife or where I have not been able to get close enough to, or zoom in as far as I wanted, to a subject, or to remove "undesirables" from the edges of a frame.
However, as I generally tend to crop to a 3:2 ratio I approached this exercise with the intention of ignoring the standard ratio so I would not feel limited when it came to cropping. This led to some interesting results, such as wide panoramic crops and square crops.
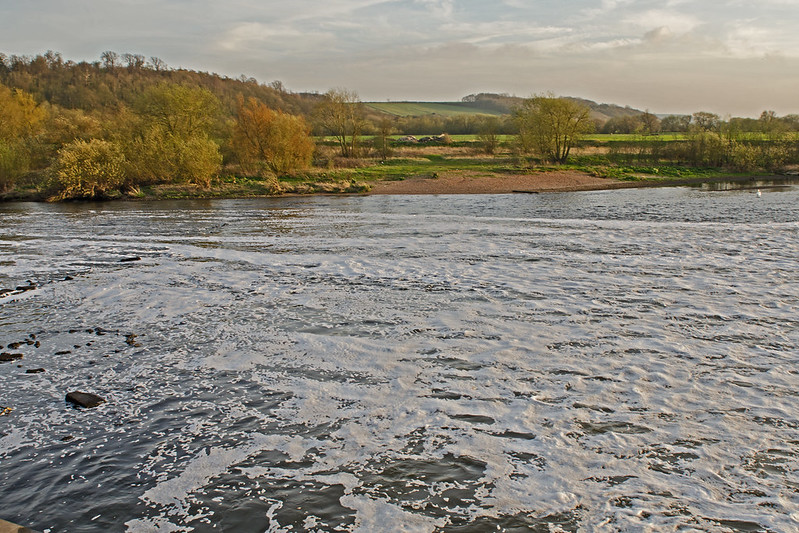
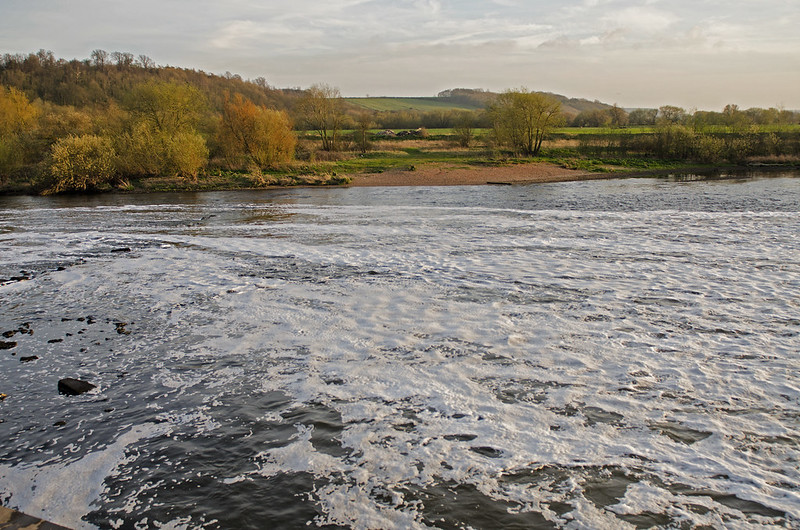
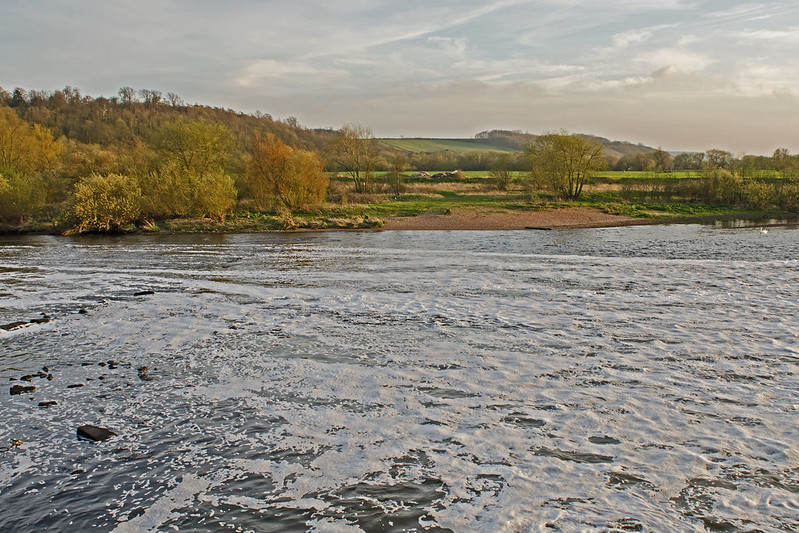
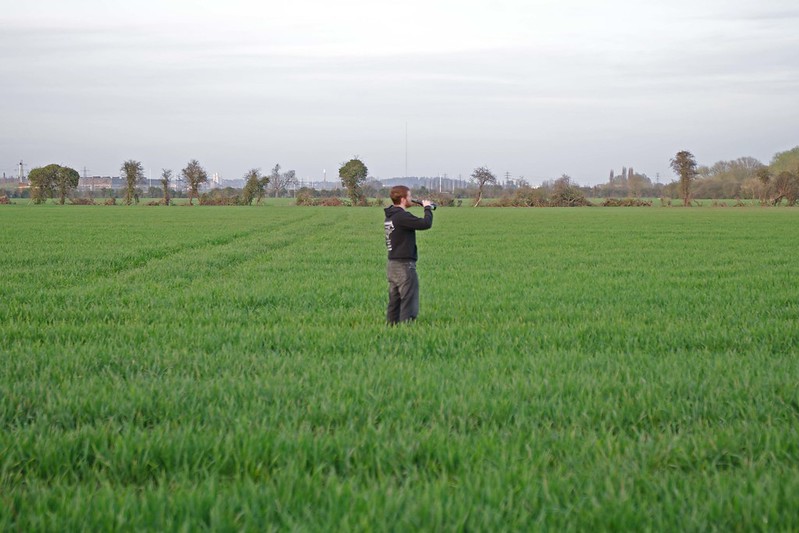
For these first three examples, I focused on landscapes and cropping them to a wider panoramic view;
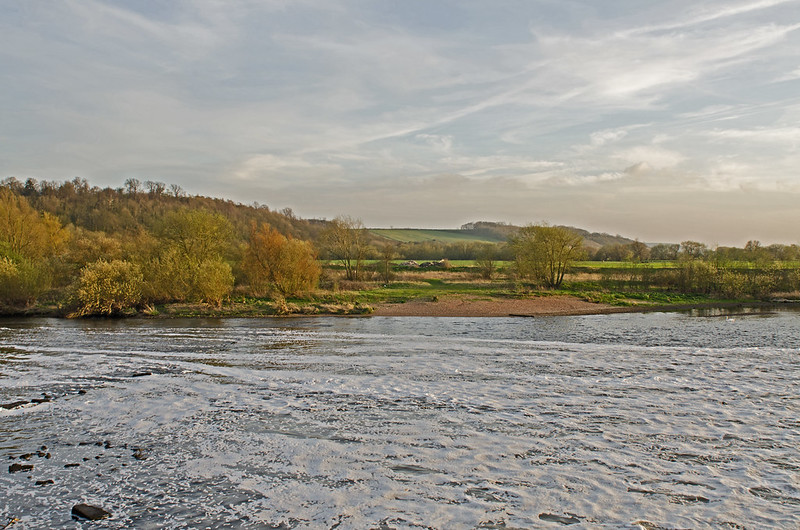 |
| Orignal |
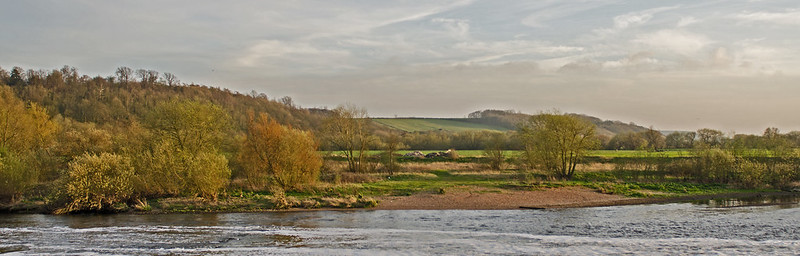 |
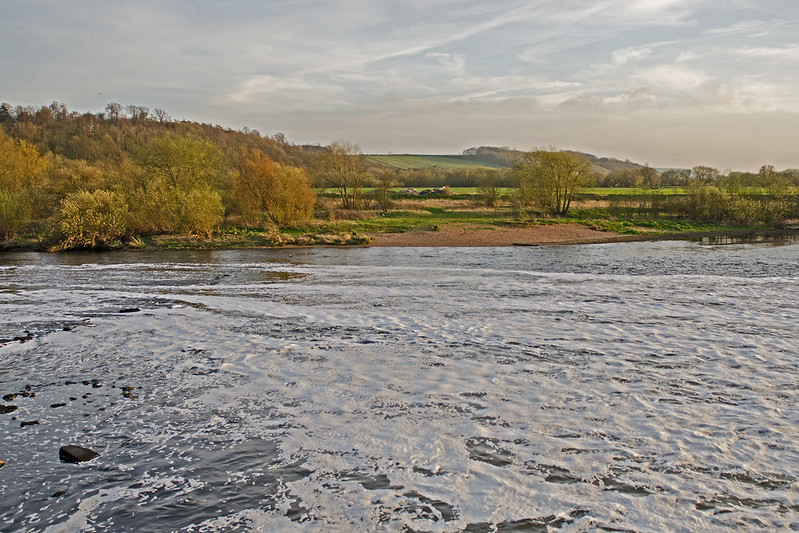
| Crop
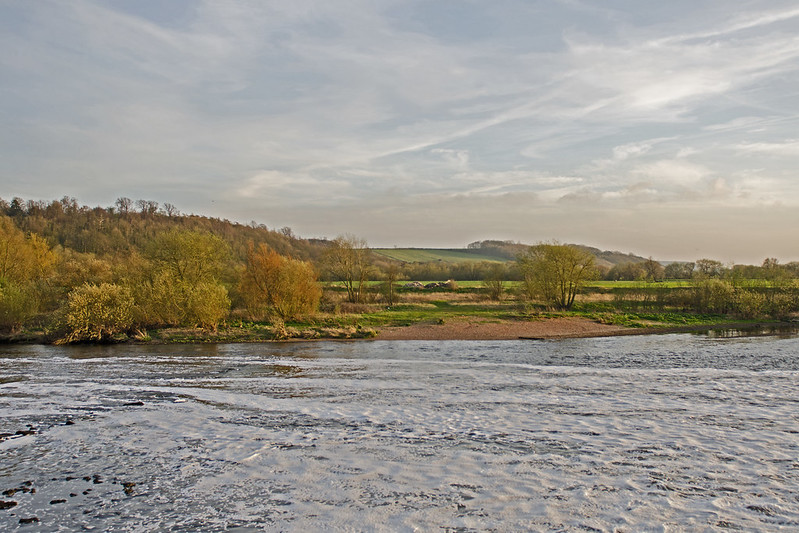
As you can see in this example, it is a fairly simple crop removing most of the sky and river to focus entirely on the horizon and details of the trees, hills etc. I think it works quite well, as it removes the distractions of the large expanses of sky and river meaning that the land does not feel as lost within the frame as it does in the original.
|
 |
| Original |
 |
| Crop |
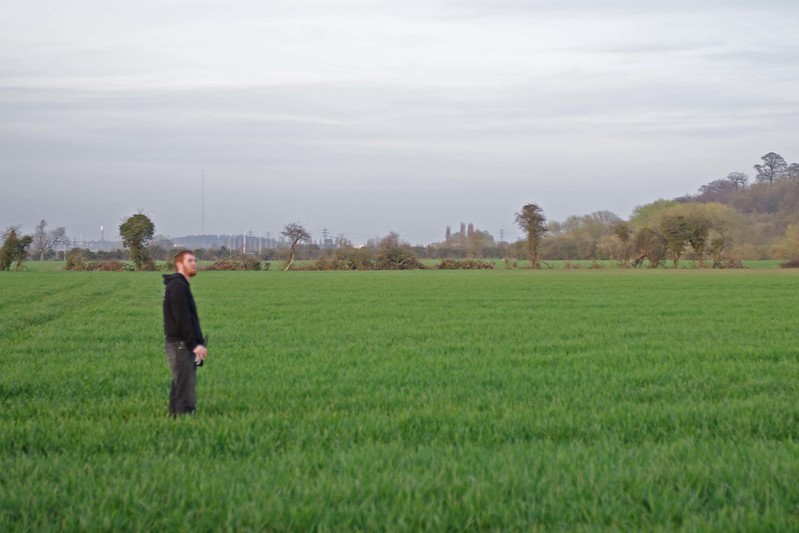
Once again in this example, I have focused entirely on the horizon, removing the foreground of the field and the expanse of sky - placing emphasis on the trees and lake. This removes the distractions from the shot, as in the original I found myself focusing so heavily on the field as it takes up such a large proportion of the frame and is a very vivid green - which is extremely distracting from the rest of the frame.
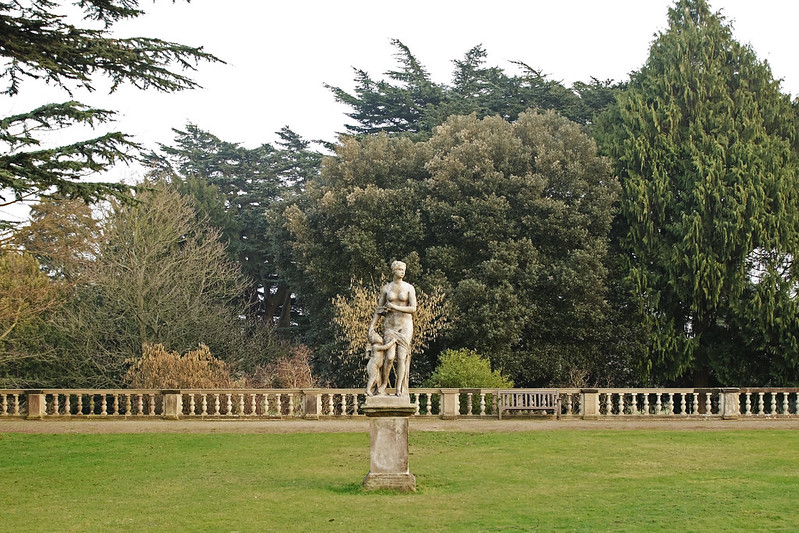
 |
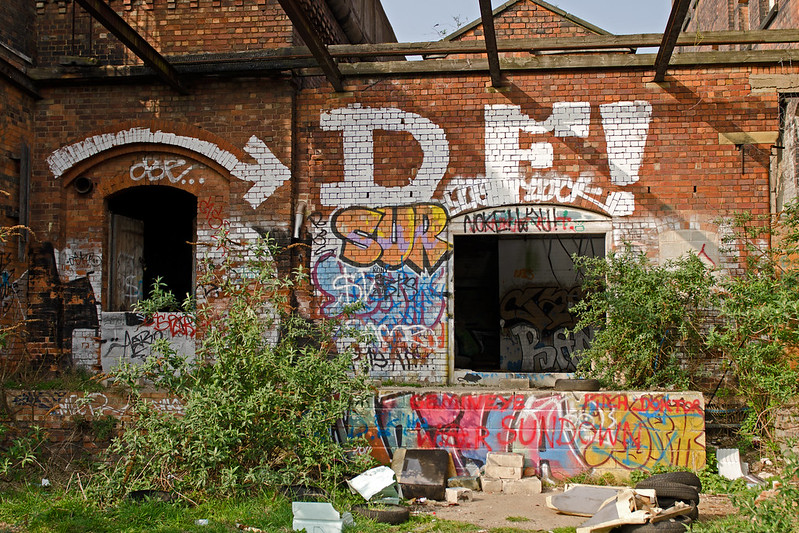
| Original |
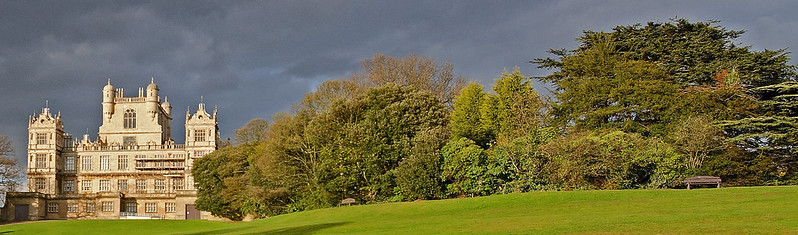 |
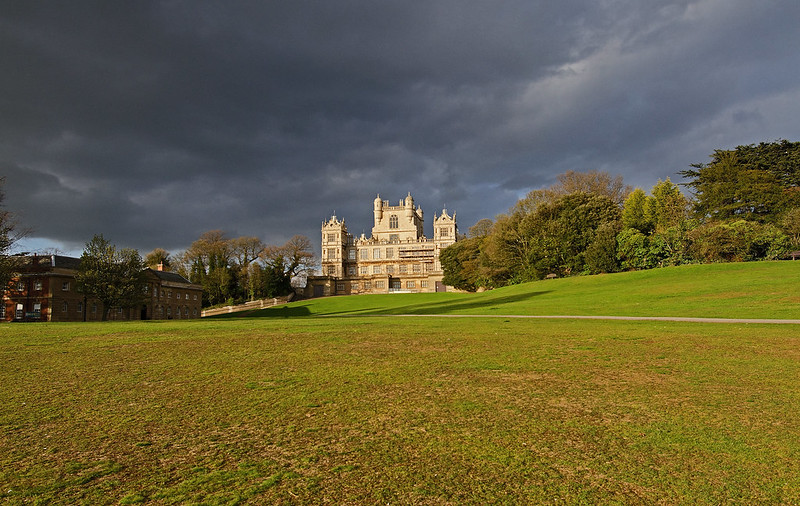
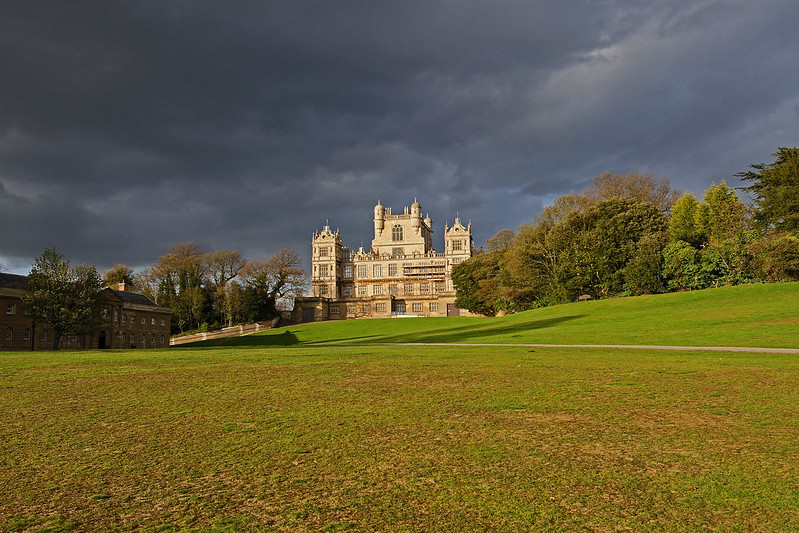
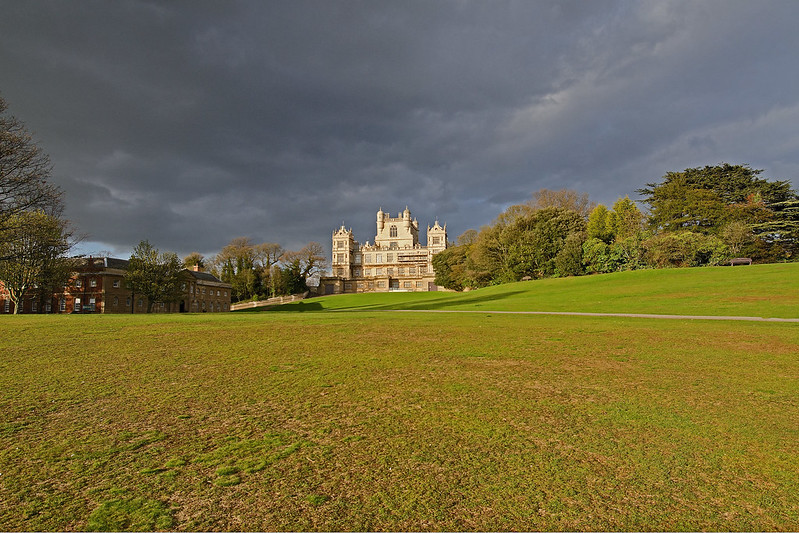
| Crop
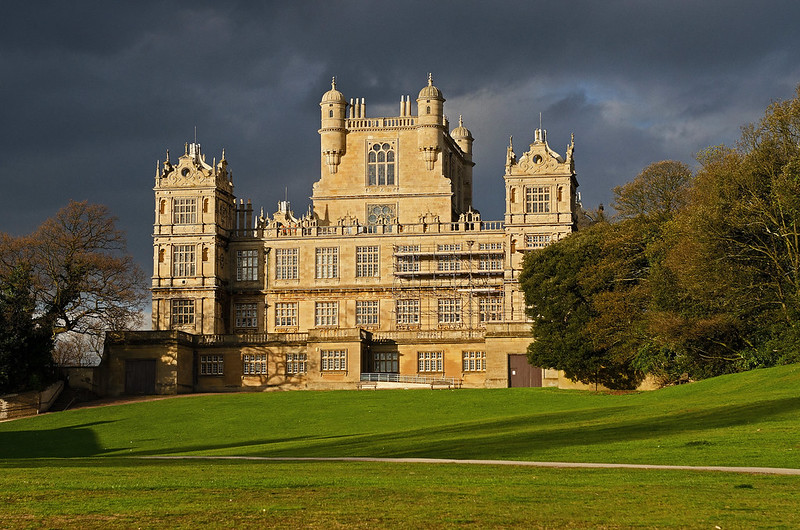
As my final landscape, I opted to again focus on the horizon - the Hall and the trees. I elected to crop out the trees and the building to the left of the frame to remove them as a distraction, as well as the vast majority of the sky and foreground. I also straightened the Hall slightly. |