AcE Photographic Flickr

AcE Photographic. Get yours at bighugelabs.com

Wednesday, 2 May 2012

OCA - TAOP - Exercise 8

Exercise 8, A Sequence Of Composition,

The aim of this exercise was to produce a sequence of compositions, capturing an event as it happens leading up to the final, best image.

I found this exercise very interesting and extremely useful as it forced me out of my comfort zone. I have never really taken any shots of people, let alone of strangers and especially in public! It was a great learning curve, which helped to build my confidence in taking shots out and about in the street.

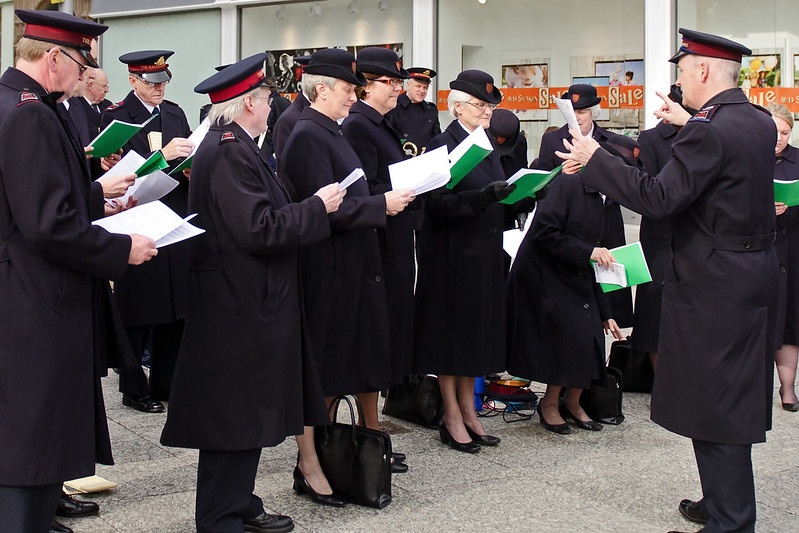
For my subject, I had initially ventured into Nottingham city centre with the intention of capturing some of the events covering St. Georges Day at the castle, however, due to my poor planning I had arrived too late and everything had already finished. While wandering around the city centre, I could not mistake the sound of a brass band playing music, following the music, I found my subject - The William Booth Memorial Hall brass band, a part of the Salvation Army, who hold public services every sunday in the city centre.

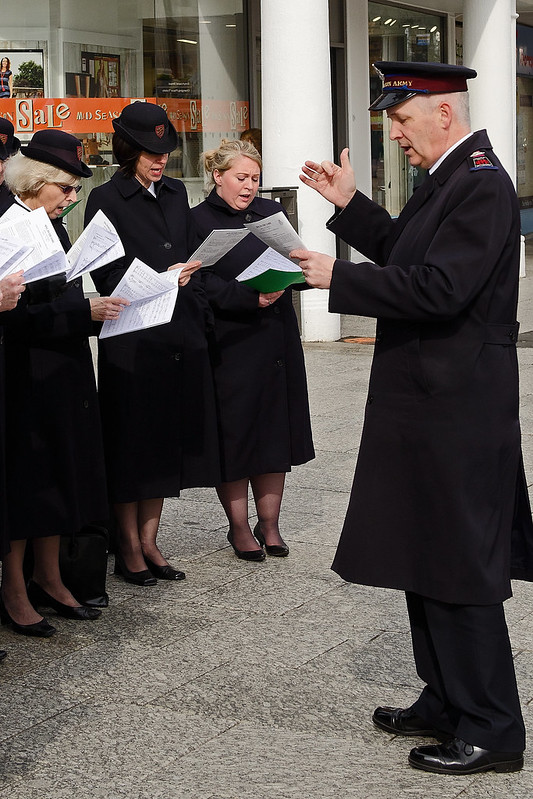
I stayed for the whole service, taking photos following the event as it unfurled before me;


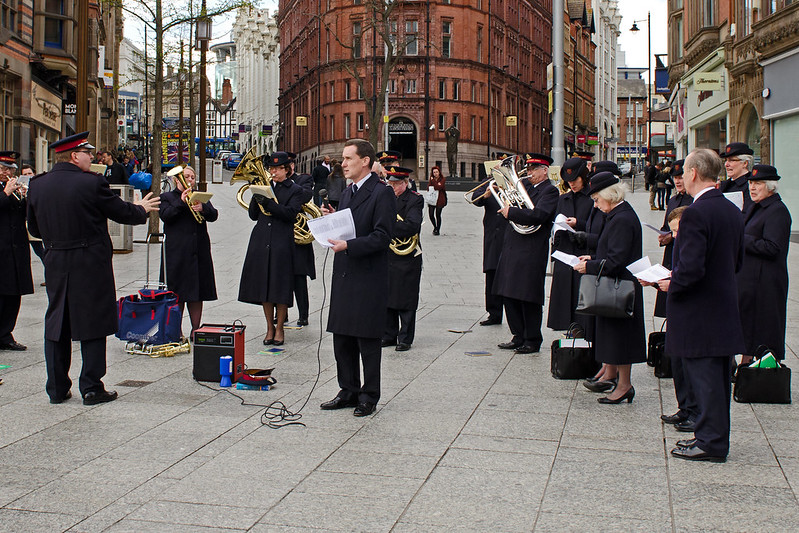
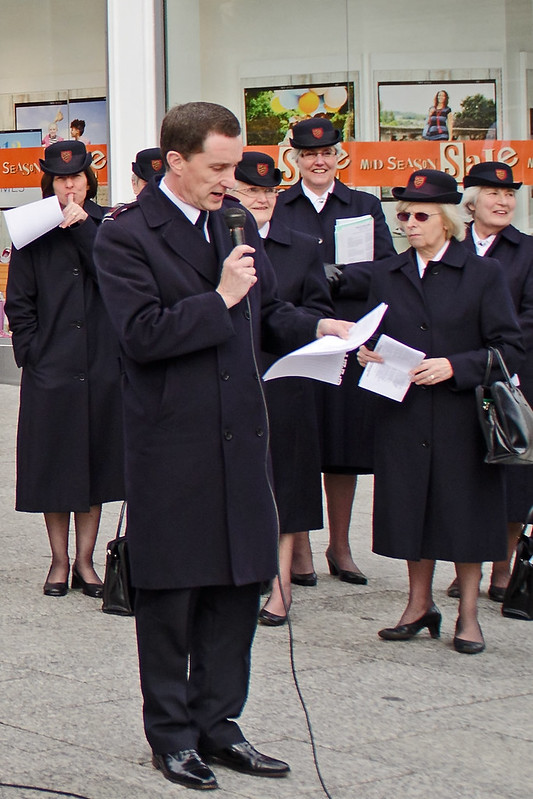
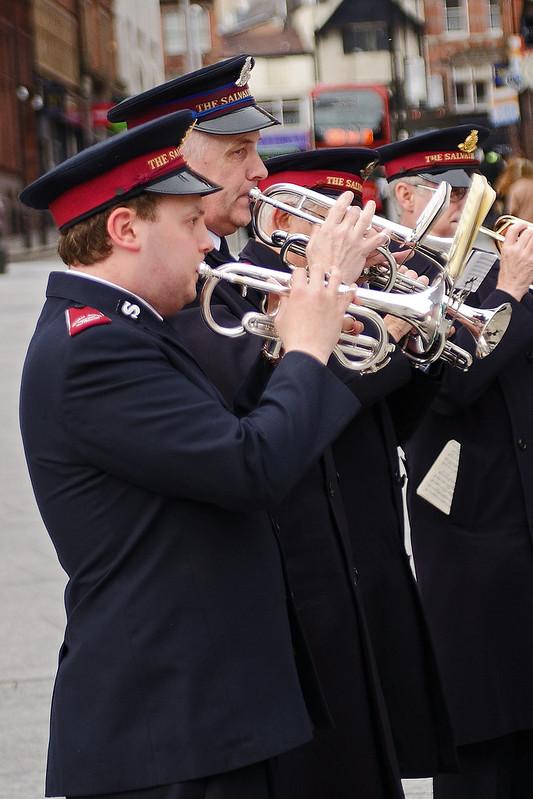
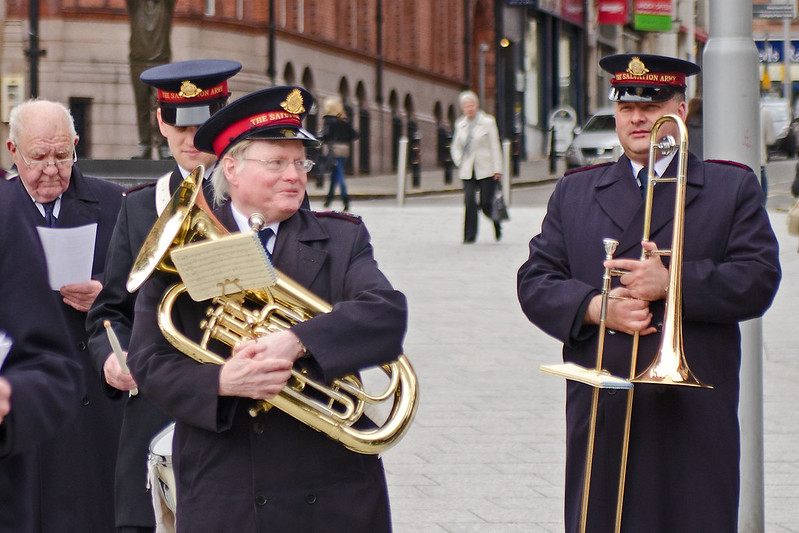
This is the initial shot, as I first found the source of the music. Here you can see they are playing mid song, shortly after arriving and setting up. From here, I decided to start trying to get shots of individuals in the band, to give a sort of introduction into the different faces and different people;


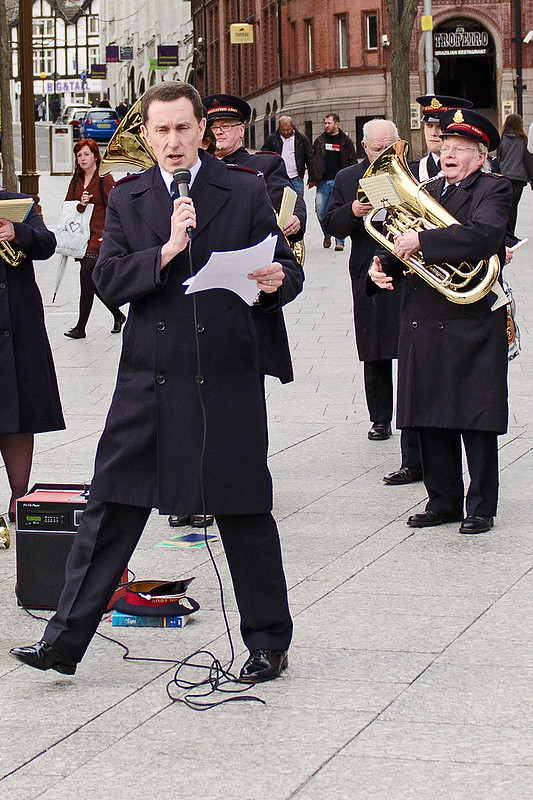
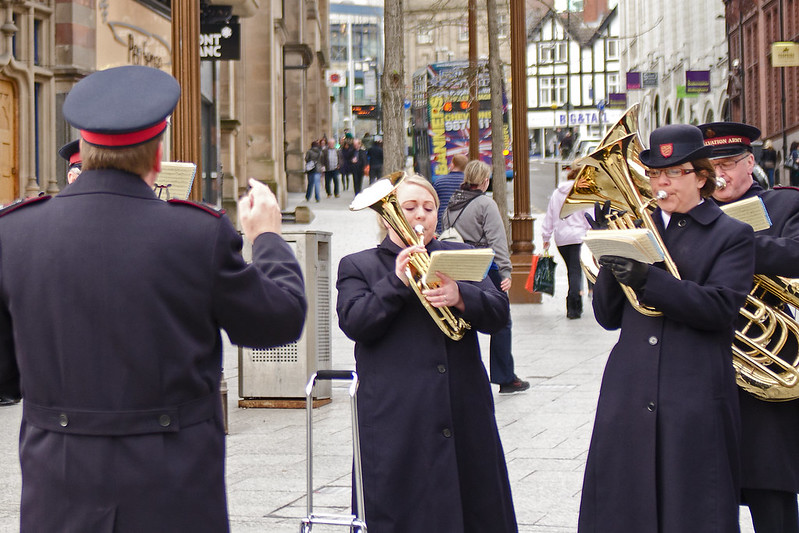
By this point I had moved over towards the left hand side of the band, as it was the clearest spot for me to stand without getting other spectators standing in the way, or being so close as to disturb the band during the service.


OCA - TAOP - Exercise 7

Exercise 7, Objects In Different Positions In The Frame

In this exercise, the intention is to see how much of a difference it makes placing a subject in different positions within the frame. Such as a central position so it punctures the background, off centre, higher and lower in the frame, to see what effect it has on the final image in relation to the background.

For my subject, I opted to take advantage of a situation when out with a friend for a walk at Beeston Weir, Nottingham, using him as a subject on a fairly plain background of a field with some detail on the horizon, so as to try not to distract focus from the primary subject as much as possible.


This initial shot places the subject in a central position in the frame, so as to "puncture" the background, drawing immediate attention as the background surrounds the subject equally. This makes the subject feel very prominent compared to the background.


These next two shots place the subject more towards the left and to the right of the frame. In both situations, it places more emphasis on the background and the foreground. The subject does not stand out as much as the initial shot, however not as much as to not immediately draw attention to the subject, it is still very prominent.

Tuesday, 1 May 2012

Just for fun

As I've not updated this blog for a while, and have finally started uploading my course exercises, I felt that I would like to share a few of my more recent shots just for fun, all taken in Nottingham.

Enjoy!


Right - All Saints Church

Below top - Wollaton Hall

Below Mid - Beeston Weir

Bottom - Statue, Rock Cemetery.


OCA - TAOP - Exercise 6

Exercise 6, Fitting The Frame To Subject;

This exercise is designed as an experiment to see how much space it takes to fill the viewfinder and how this can affect the final shot.

I chose a statue as my subject as it would enable me to move around it easily to recompose my shots.


This initial shot is just a snapshot with very little though towards composition, as it is merely to give base reference of the subject - the statue in the foreground.


The aim for this second image was to fill the frame as much as possible with the subject. However, the subject is not that tightly fitted to the frame as I decided to compose the image with as much of the pedestool out of view as I found it to be, in my opinion, large and distracting from the main subject.


The aim for this third image was to get in close and photograph just a part of it, where the subject extends beyond the edges of the frame.

The image is actually a cropped image, as I read the exercise incorrectly, see further down for the full sized image. It does however mean that I have experimented with cropping looking for new images, as requested in the exercise.


In this fourth shot, I moved back to get more background in the frame, placing more emphasis on the background. As you can clearly see, the trees in the background are far more pronounced and obvious, especially as the subject takes up alot less room in the frame.

OCA - TAOP - Exercise 4 & 5 Overview

Exercise 4 & 5 Overview;

Overall, over the last two exercises, as they were so closely related, my favourite image is the image that was in exercise 5 at 1/25 sec, depicting the blue van. I feel that this image has a balanced blend between the blurred background against the in focus van.

I feel, with experiance and practice, the intensity of the blurred background shot at 1/6 sec would be the most favourable if I could get the whole of the subject in focus. that said, the image taken at 1/6 sec is my second favourite photo out of these two sets. I just with more of the car was in sharp focus, as whilst it gives a sense of speed, I feel that the car is just too out of focus. This gives me a good incentive to practice my panning technique when the opportunity arises.


My Favourite;

Second Favourite;


OCA - TAOP - Exercise 5

Exercise 5, Panning With Different Shutter Speeds;

This exercise follows on from the previous exercise, with a significant difference, I will be panning to capture the movement, the intention is to keep the vehicle in focus, but to blur the background to give a sense of speed.

I have never attempted panning before, so whilst some images did not come out as well as I had hoped, it was a good learning curve that forced me to practice a new technique.


1/250 sec

At this speed there is no significant blurring of the background, though it is slightly out of focus. The cars details are sharp and in focus. Overall, there is no real sense of speed or movement in this shot.


1/160 sec

The background is becoming more blurred, though not to the extent to give a real sense of movement. the car is still sharp and in focus, which contrasts against the slightly out of focus background more than the last shot.


1/125 sec

The car is still sharp and in focus, however the background is becoming really noticeably blurred by using the panning technique. the contrast is beginning to give the image a sense of speed and movement.

OCA - TAOP - Exercise 4

Exercise 4, Shutter Speeds;

In this exercise, my aim was to "freeze" movement isomg a fast shutter speed. I also aimed to capture the effects of using a slower shutter speed with a moving subject.

For my subject, I chose cars on a fairly busy road, as they are readily available to shoot and in a built up city, they should be travelling at a fairly consistant speed of approximately 30mph in a residential area.


1/800 sec

This image was shot at 1/800 sec. This was the lowest speed that caught the whole car in focus inc. the wheels. A fairly fast speed, but it is to be expected with cars.


1/400 sec

This image was shot at 1/400 sec. The car is still easily distinguishable, as well as the driver. The edges are becoming blurred due to the movement, in particular the wheels.


1/200 sec

This image was shot at 1/200 sec. At this speed, the effects of speed are becoming more apparant with significant blurring on the edges of the taxi and the wheels. Details on the driver are becoming more difficult to distinguish and the advertising on the side of the taxi is illegible.

OCA - TAOP - Exercise 3

Exercise 3, Focus at Different Apertures;

This exercise is designed t oshow the effects different apertures have on the final image. As a rule of thumb, a large aperture such as f/1.8 will produce a very shallow depth of field, whereas a small aperture will produce a much deeper depth of field, rendering most, if not all, of a photographs detail sharp and in focus.

I chose a location near to some industrial works, showing a panel fence at an angle to give depth, as well as having another fence in the background to clearly show how a deeper depth of field would gradually render the fence in the background as sharp and in focus. In all images, the focus point was set just above the black sign on the fence.


F/2.8

OCA - TAOP - Exercise 2

Exercise 2, Focus With A Set Aperture;

This exercise is to show the effect of a shallow depth of field focused at different distances. The sharp focus in an otherwise out of focus photo immediately draws attention as it stands out very clearly compared to its surroundings.

I took 3 photographs of a fence at a very shallow angle in order to maximise the depth of the fence in the photo. All images were shot at f/2.8, focusing on a portion of the fence that was nearer to me, a midway point on the fence and a far section of the fence.

OCA - TAOP - Exercise 1

Exercise 1 - Focal Length & Angle of view;

This exercise is designed to show the difference between focal lengths and angle of view. A "standard" focal length is one which produces the same magnification and view you would see if viewing the same scene with the naked eye. In a full frame or 35mm format the "standard" focal length is accepted as being 50mm.

In this exercise, I took 3 photos from the same location at 3 different focal lengths to show the varying angles of view. The photos were printed to A4 size to measure the distance from my eyes to the photo mounted on the wall, when held at a distance that appears to make the objects in the photo the same size that they are in real life.

*Over the course of this exercise I noticed a rough correlation between focal length and viewing distance. E.g. 20cms at 12mm is roughly 1/3 of 60cms at 35mm, which in turn is roughly half of 120cms at 70mm.